
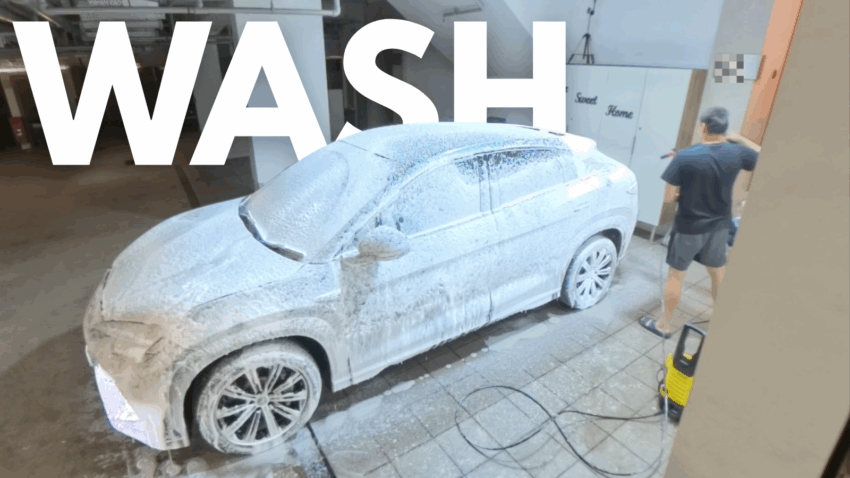
Truth be told – I’m not a big fan of washing the car. If I can get away with it, I’ll always find the quickest way to get it done. But as you can imagine, what we do at home usually can’t match the results of a professional detailer.
But what if you could get close to professional results at home, even with very limited tools? Recently, I discovered that it’s possible – and surprisingly enjoyable – if you have the right products and process.
Why I Changed My Car Washing Approach
Every time I washed my car before, the results were underwhelming. Maybe it was the wrong tools, maybe the wrong products – or maybe I was just rushing through it.
That changed when I met the folks at Carwerkz Singapore. They introduced me to some detailing products that were so easy to use, I was skeptical at first. But after trying them, I realised car washing could actually be satisfying – and give great results.
Today, I’ll walk you through the exact tools and products I now use, plus my step-by-step process you can follow at home.
The Tools I Use
- Pressure Washer – The single best investment for a lazy washer like me. Yes, it’s pricey, but worth every cent.
- Foam Cannon (MJJC) – A game changer compared to cheap $20 versions. Produces thick, satisfying foam that makes washing fun.
- Microfiber Towels – I use two heavy, absorbent towels to cover most of the car in one pass and then finish drying.
- Wash Mitt – Gentle and effective for hand washing without scratching.
- Two Buckets – One for the wash solution, one for rinsing the mitt.
The Three-Star Products
1. Maniac Line Neutral Foam Shampoo
This is my go-to for regular maintenance washes. It removes the bulk of dirt and grime in the pre-wash stage. For a quick wash day, I just use this and wipe the car down.
2. Maniac Line Black & Wrap Shampoo (Descaler)
This product tackles stubborn water marks and mineral deposits that make paint look dull. It dissolves what water alone can’t remove, restoring a cleaner, brighter finish. I only use this every 2–3 months.
3. Maniac Line Ceramic Shampoo
Think of this as a spray-on ceramic coating that lasts 2–3 months. It’s incredibly simple: foam it on, wait a minute, rinse, and you’re done. Gives that glossy, hydrophobic finish without the complexity of a full ceramic application.
Step-by-Step Car Wash Process
Step 1: Pre-Wash with Foam Cannon
Cover the car in thick foam using the Neutral Foam Shampoo. Let it dwell for a minute, then rinse from top to bottom. This removes loose dirt and lubricates the surface to prevent scratches.
Step 2: Descale with Black & Wrap Shampoo
Mix four caps of shampoo with 8L of water. Hand wash the car using the two-bucket method. Work quickly and rinse before it dries to avoid streaks.
Step 3: Apply Ceramic Shampoo
Foam on the Ceramic Shampoo, wait about 30–60 seconds, then rinse. You’ll see the difference instantly – water will bead and sheet off beautifully.
Step 4: Drying
Use the first heavy microfiber towel to remove 85–90% of the water. Follow up with a second towel to completely dry the car, avoiding water marks.
Before & After: The Ceramic Effect
Before applying the ceramic shampoo, water didn’t bead on the surface – it pooled and stuck. After, it rolls right off in droplets or sheets, leaving the paint slick and shiny.
Final Thoughts
This routine is now my go-to. It’s efficient, gives me near-professional results, and best of all, it’s not a chore anymore. I’ve included links to all the products I use below. If you’re in Singapore, Australia, or the UK, check local suppliers for equivalents.
Bonus: The kind folks at Carwerkz Singapore have provided a 35% discount code – you’ll find it in the discount code on the BYDBUDDY homepage if you’d like to try these products yourself.
Have a simpler or more effective car wash method? Share it in the comments – I’m always looking to optimise!